Install Sonarqube with PostgreSQL
Hi there! In this guide, I’ll walk you through a step-by-step process for installing SonarQube with PostgreSQL on a CentOS Minimal setup.
What is SonarQube?
SonarQube is an open source platform for continuous inspection of code quality to perform automatic reviews with static analysis of code to detect bugs, code smells and security vulnerabilities on 20+ Programming language including Java (including Android), C#, PHP, JavaScript, C/C++, COBOL, PL/SQL, PL/I, ABAP, VB.NET, VB6, Python, RPG, Flex, Objective-C, Swift, Web and XML.
First step
First, you need to prepare a Linux server as a platform for SonarQube application. For example, you can use Vagrant for that purposes. In my case I use CentOS 7 Minimal:
[dmitriy.unterov@localhost ~]$ uname -a
Linux localhost.localdomain 3.10.0-693.11.1.el7.x86_64 #1 SMP Mon Dec 4 23:52:40 UTC 2017 x86_64 x86_64 x86_64 GNU/Linux
[dmitriy.unterov@localhost ~]$ cat /etc/redhat-release
CentOS Linux release 7.4.1708 (Core)
For complete this tutorial we need to install the following packages:
- java
- wget
- unzip
sudo yum install wget java unzip
Great! Next we have to download and unzip a SonarQube package. You can get a link to tha latest Package on the official site.
wget https://sonarsource.bintray.com/Distribution/sonarqube/sonarqube-6.7.zip
unzip sonarqube-6.7.zip
ls
cd sonarqube-6.7
Nice. But we still have no DataBase! Let’s fix it!
PostgreSQL
Installation of packages in Linux (if they exist in repository :) ) is very easy.
sudo yum install postgresql-server postgresql-contrib
sudo postgresql-setup initdb
Next, we need to configure postresql with the following:
sudo vi /var/lib/pgsql/data/pg_hba.conf
Make sure, that you changed METHOD to md5:
# TYPE  DATABASE        USER            ADDRESS                 METHOD

# "local" is for Unix domain socket connections only
local   all             all                                     peer
# IPv4 local connections:
host    all             all             127.0.0.1/32            md5
# IPv6 local connections:
host    all             all             ::1/128                 md5
# Allow replication connections from localhost, by a user with the
# replication privilege.
#local   replication     postgres                                peer
#host    replication     postgres        127.0.0.1/32            ident
#host    replication     postgres        ::1/128                 ident
#host    replication     sonar           127.0.0.1/32            ident
And finally we have to start postgres daemon and enable it with systemctl:
sudo systemctl start postgresql
sudo systemctl enable postgresql
Make them work together!
Alright, at this point we have all the necessary components in place - but they’re not functional yet.
To get things working, we need to create a database and user for the SonarQube instance.
Just a quick note: the postgres user was automatically created during the PostgreSQL installation. So first, let’s set a password for that user and proceed with the following steps
passwd postgres
su - postgres
createuser sonar
psql
ALTER USER sonar WITH ENCRYPTED password 'sonar';
CREATE DATABASE sonar WITH ENCODING 'UTF8' OWNER sonar TEMPLATE=template0;
\q
Done! Next, we’ll need to config SonqrQube by editing ./conf/sonar.propertie file:
vi conf/sonar.properties
Here we need to uncomment a number of strings and edit a couple of them to have something similar to this:
# DATABASE
sonar.jdbc.username=sonar
sonar.jdbc.password=sonar
sonar.jdbc.url=jdbc:postgresql://localhost/sonar
# WEB SERVER
sonar.web.host=0.0.0.0
sonar.web.port=9000
By the way, if you use a firewall in CentOS you may need to type the following:
sudo firewall-cmd --add-port=9000/tcp --permanent
sudo firewall-cmd --reload
It will permanently add TCP port 9000 to the accepted ports list.
The last step
Now we are ready to the Triumph!
./bin/linux-x86-64/sonar.sh start
Please note, that you should run it without a sudo. Now open a web browser and type
http://yourserverip:9000 (you can get you ip with ip a command)
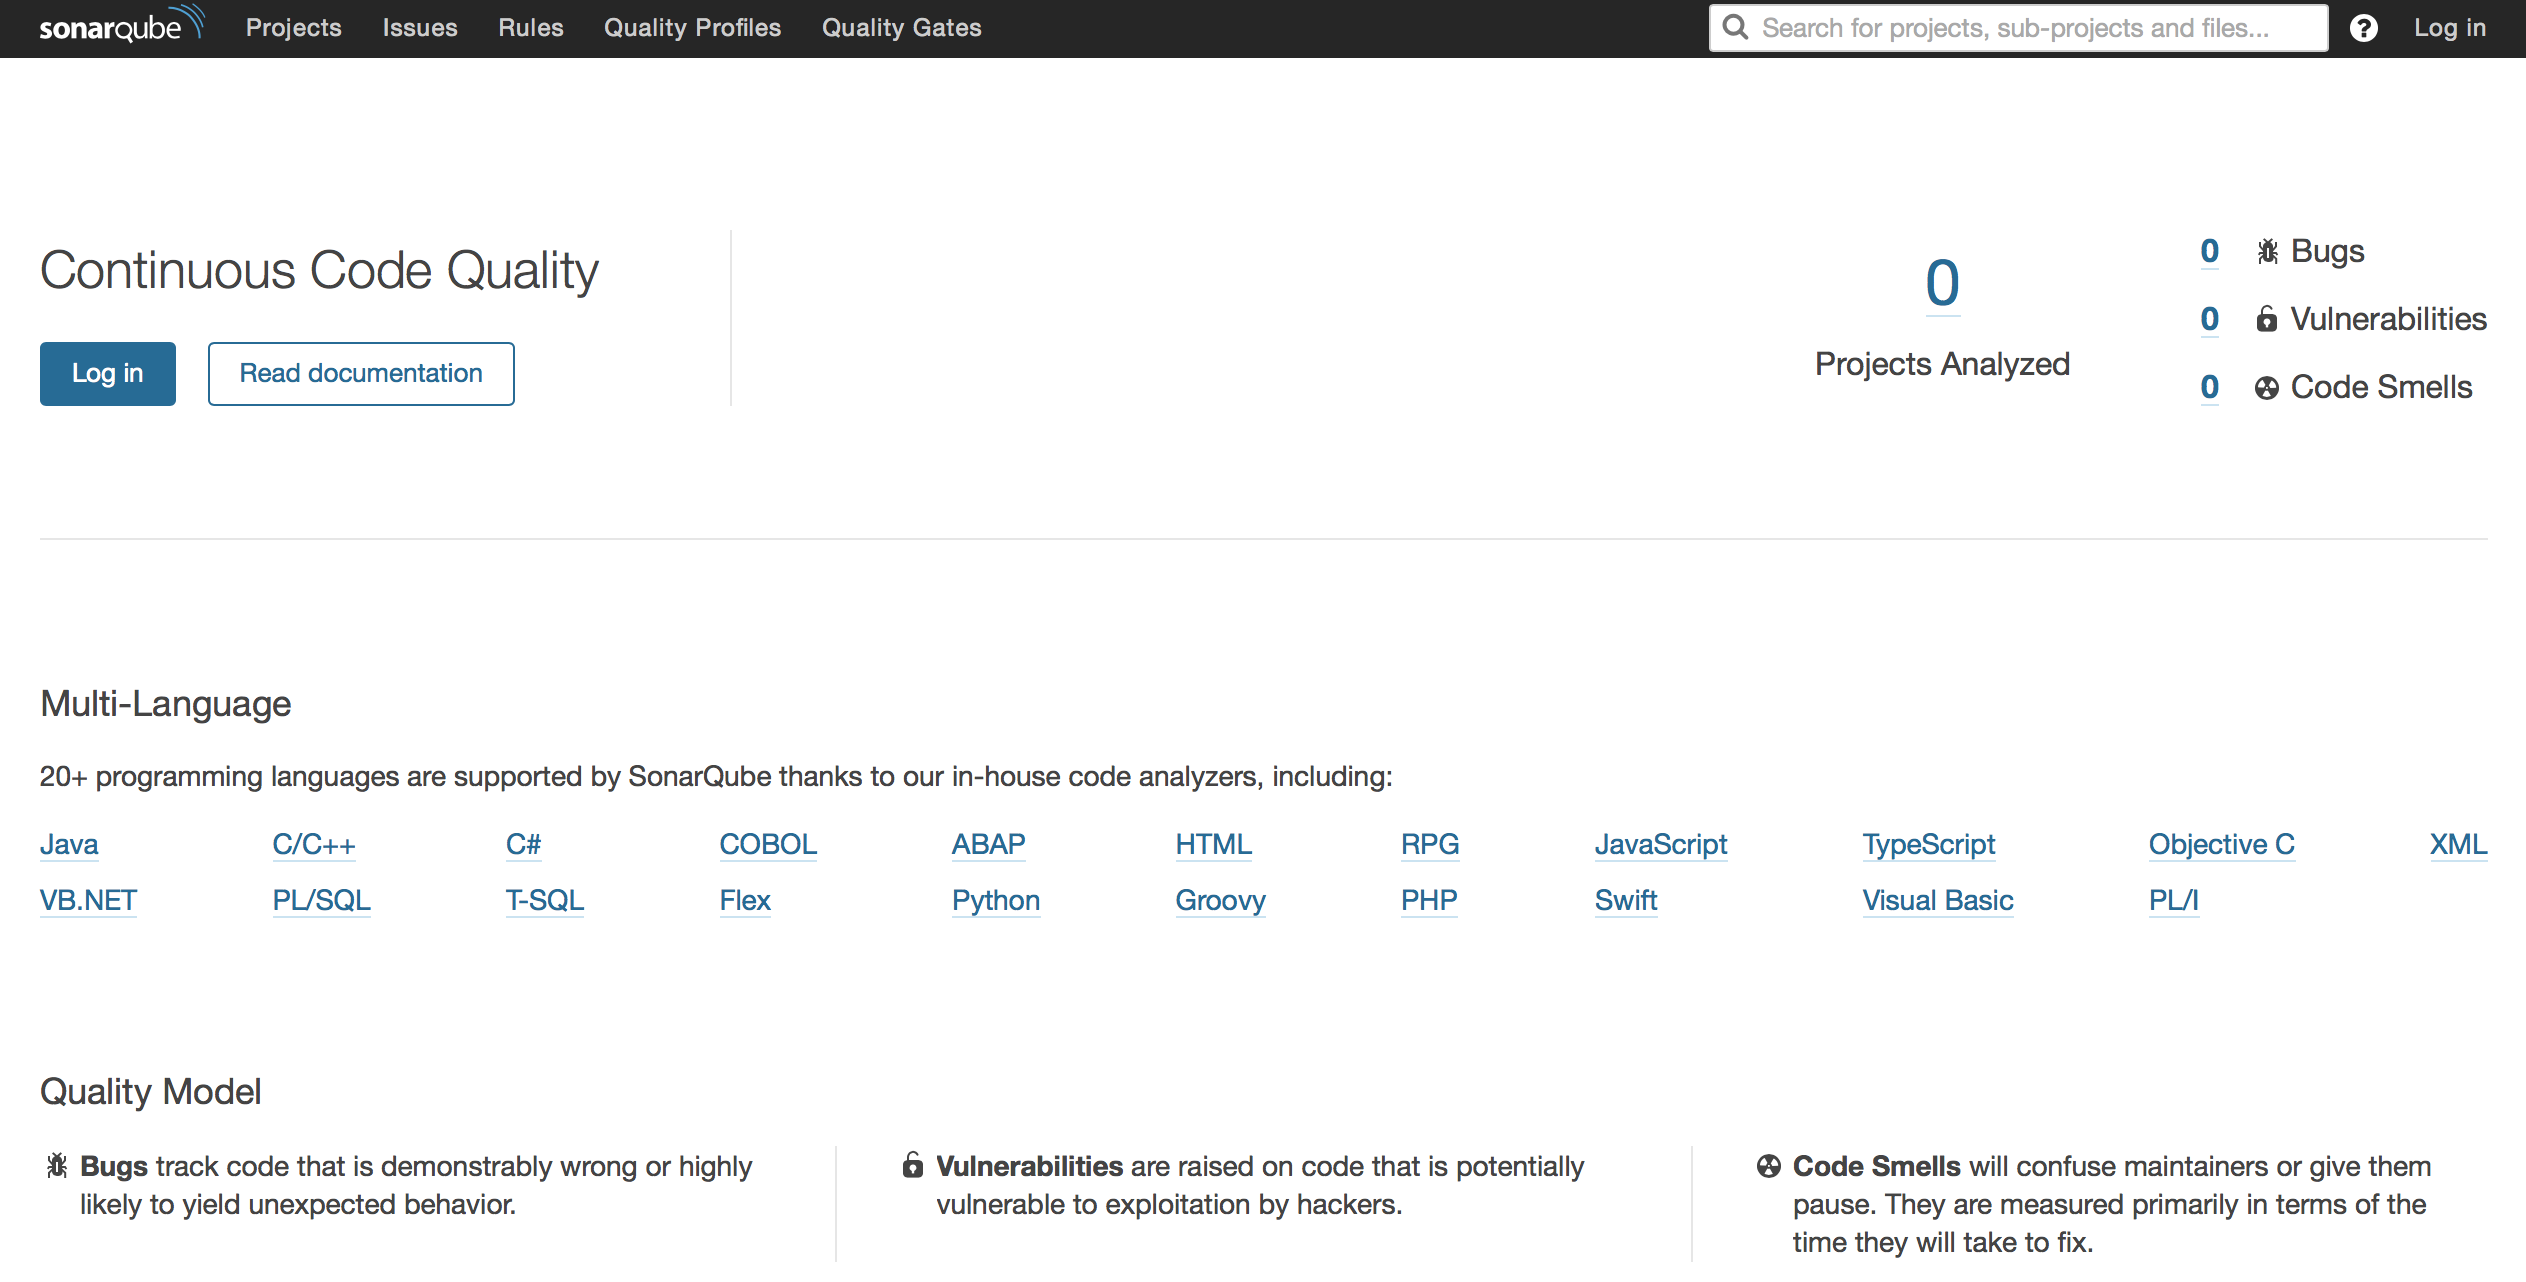
You should see the sonarqube’s login page like this

As a conclusion, I want to say that is not an official manual or a full guide in any sense. It’s a small HowTo (and a basically a memo for me). But if it was useful to you too - you’re welcome!
See you!